Input Glyphs
What is it?
Input glyphs are the icons that represent the buttons on your controller. Controlify has many built-in glyph sets for common controllers, but you can also create your own.
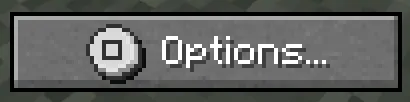
These glyphs are actually their own font, and you create them the same way as any other font in a resource pack. All you need to turn it into a controller glyph set is one extra file in the resource pack to link it together.
Creating a custom glyph set
1. Create the font file
TIP
Refer to the Minecraft Wiki for information on creating fonts. This wiki will help you understand how to create a font file and how all the providers work.
To create a glpyh set for the controller namespace my_resource_pack:switch, create a font file in your resource pack, like /assets/my_resource_pack/font/controller/switch.json.
{
  "providers": [
    {
      "type": "bitmap",
      "file": "my_resource_pack:font/controller/switch.png",
      "ascent": 11, // how many pixels should be above the baseline
      "height": 16, // the height of each glyph, mine will be 16x,
      "chars": [
        // a map of characters positioned in an image, each element in this array is a row
        // these characters can be any unicode character, but they must match to step 3
        "\u0001\u0002",
        "\u0003\u0004"
        // The above defines a 2x2 grid of characters, each character is 16x16 pixels
      ]
    }
  ]
}
2. Create the texture file
As per the "file" entry in your font file, create a texture file in your resource pack. Make sure to place it in the textures folder.
In this case, assets/my_resource_pack/textures/font/controller/switch.png.
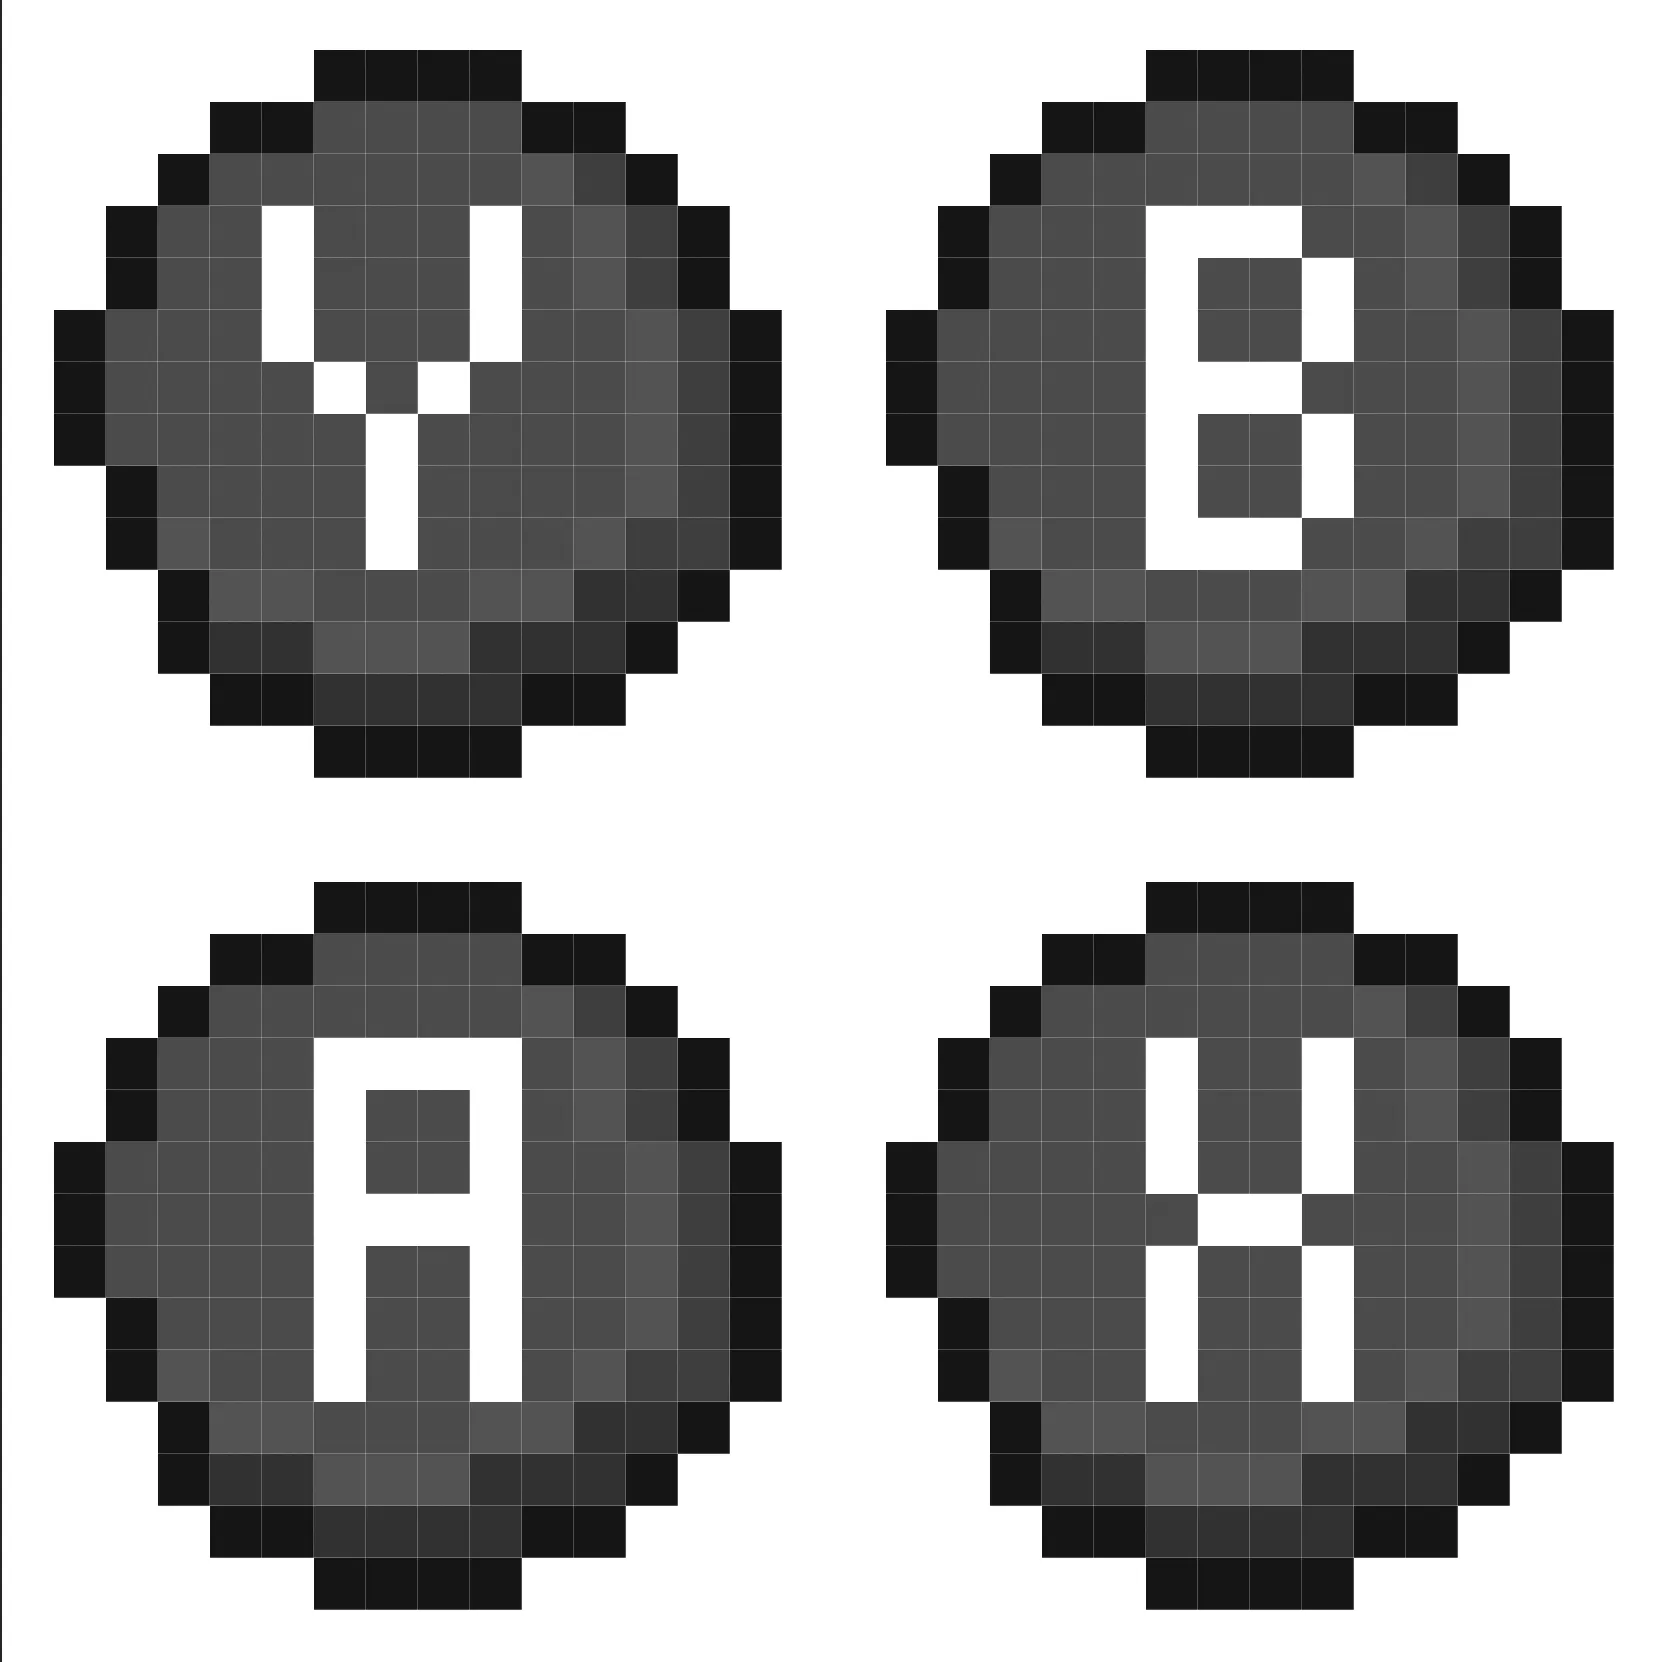
3. Create the glyph font mapping
Finally, create a file that links the controller inputs to the characters you defined in the font file.
A switch controller uses the face button layout
   X
Y     A
Bcontrolify:button/northisXcontrolify:button/eastisAcontrolify:button/southisBcontrolify:button/westisY
Create a file in your resource pack, like /assets/my_resource_pack/controllers/font_mappings/switch.json.
{
  "controlify:button/north": "\u0004",
  "controlify:button/east": "\u0003",
  "controlify:button/south": "\u0002",
  "controlify:button/west": "\u0001"
}
4. Done!
You have now successfully created a custom glyph set for your controller! Test it out in game!
Overriding existing glyph sets
To override an existing built-in glyph set, just follow the same steps as above, but use the same namespace as the built-in one.